VMware Fusion missing .vmx repair
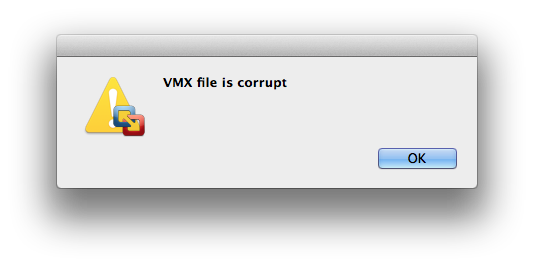
If for some reason you can not start a virtual machine in VMware Fusion and it instead throws the following error message about a missing .vmx file at you, here is what you can try to get it going again.
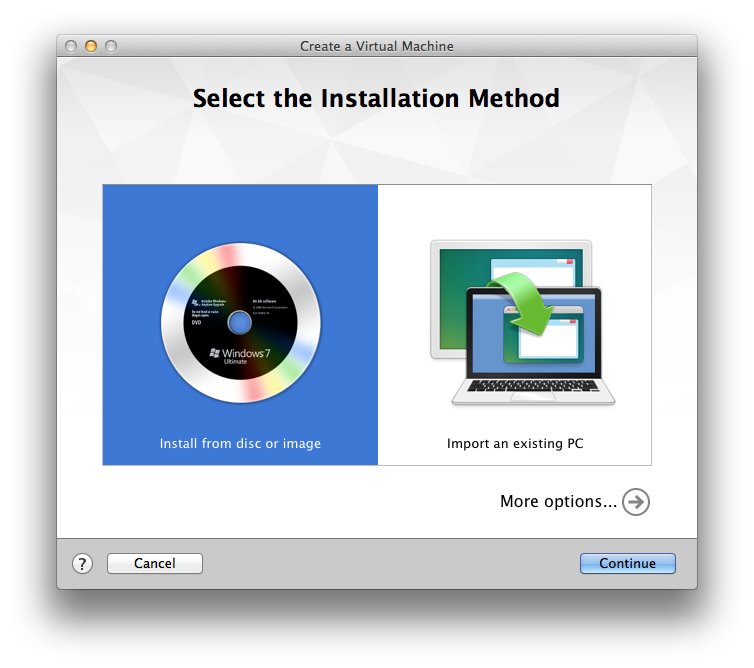
- Open VMware FUSION, then go to File > New and in the opening window click the arrow next to ‘More options…’ at the bottom right;
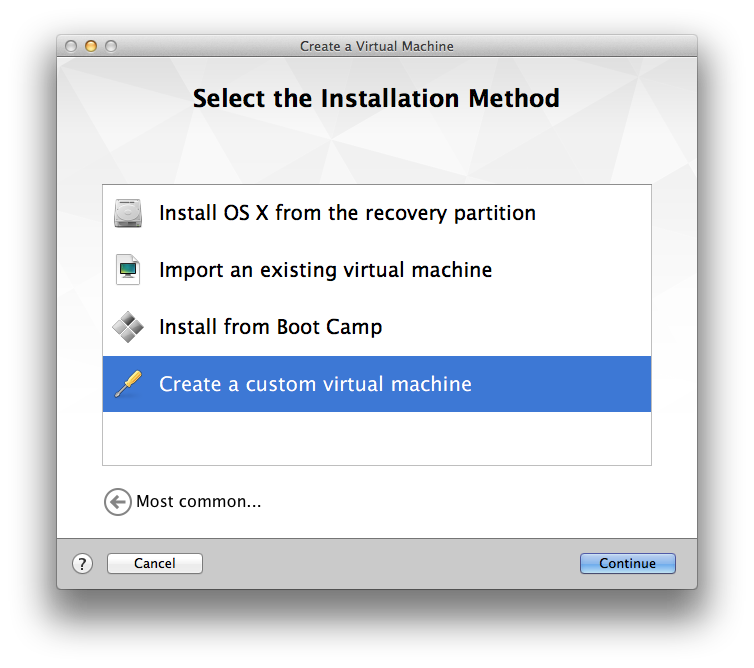
- Next in the ‘Select the installation Method’ window, choose to ‘Create a custom virtual machine’;
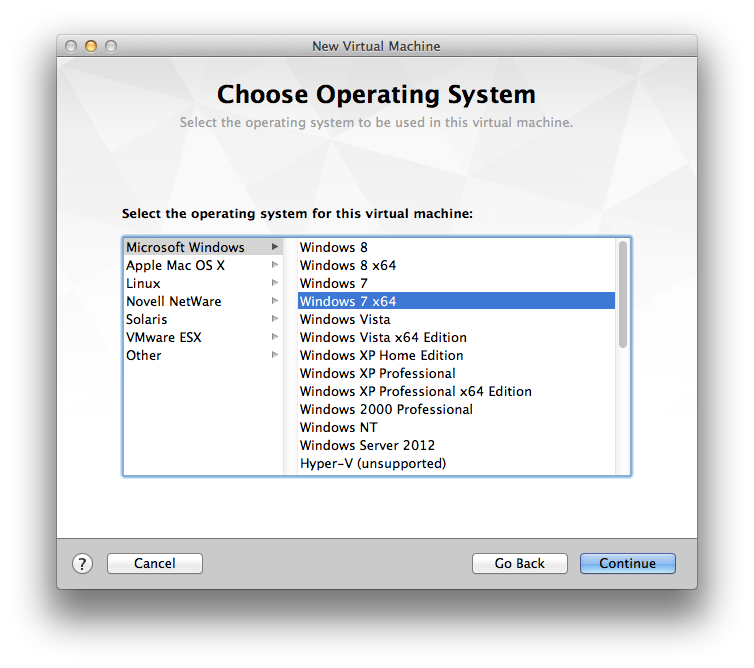
- In ‘Choose Operating System’ select the respective operating system of your previous virtual machine, in our example this was Windows 7 x64;
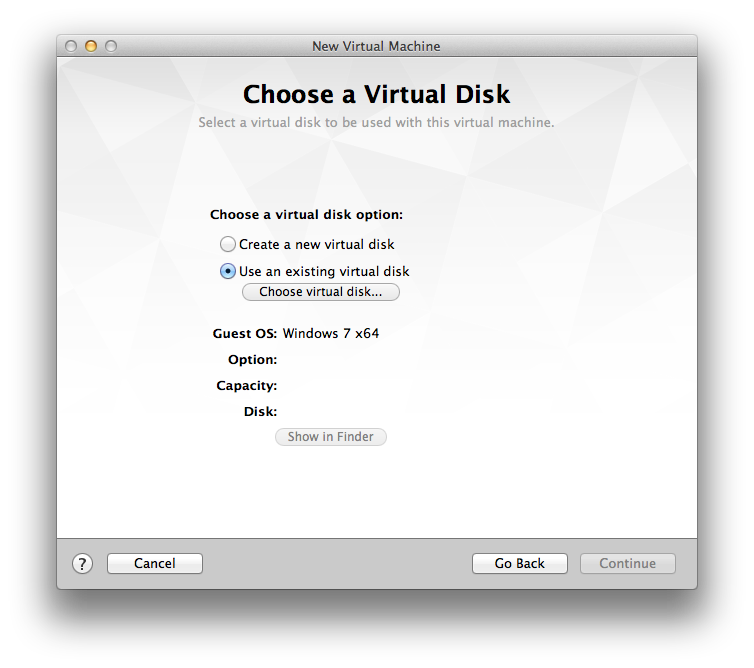
- In the ‘Choose a Virtual Disk’ window choose ‘Use an existing virtual disk…’ and click on the ‘Choose virtual disk button’…
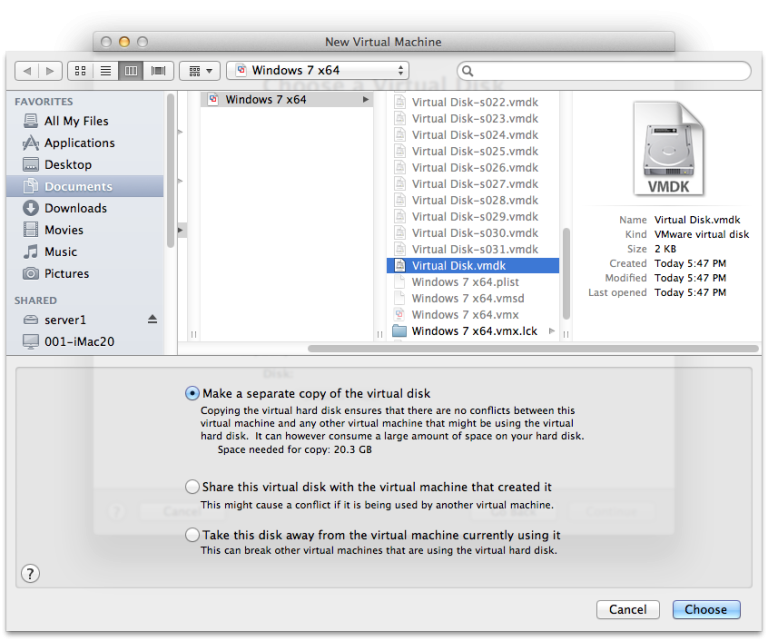
…then navigate to where your corrupted virtual machine is saved (default installation path is ~/Documents/Virtual Machines), select the ‘Virtual Disk.vmdk’ inside the Virtual Machine Bundle and choose an appropriate method, e.g. ‘Make a separate copy of the virtual disk’.Once you click on ‘Choose’ you are returned to the previous screen, there simply click on ‘Continue’;
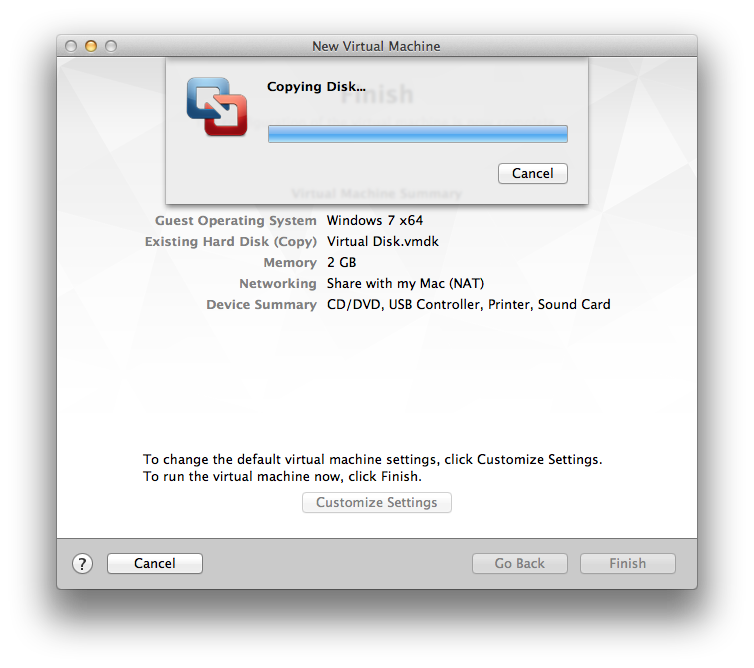
- Then wait until the process completes, click on finish and check that the rebuilt Virtual Machine works by starting it up;
macinteract Pty. Ltd. | ABN 44 155 154 653 | terms and legal. | © 2025