macinteract Pty. Ltd. | ABN 44 155 154 653 | terms and legal. | © 2026
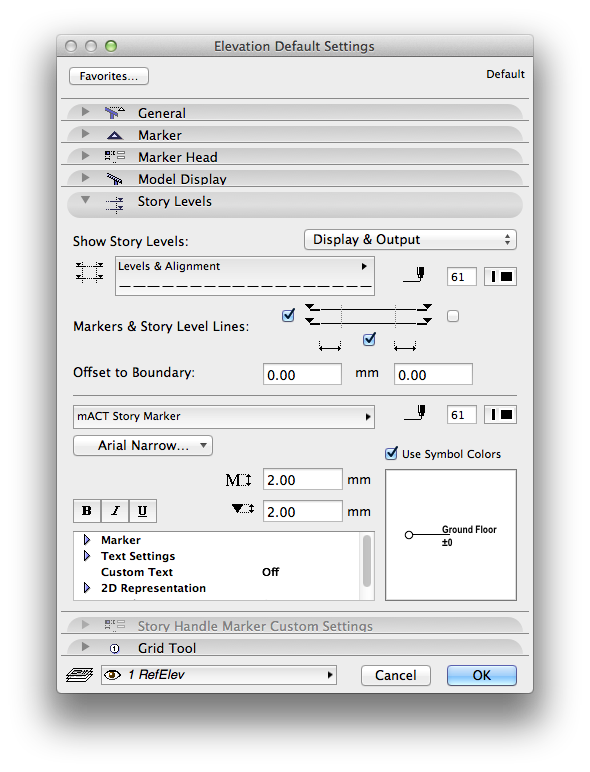
Where to find: Elevation or Section settings.
Use this to: Automatically generate story levels in sections and elevations. You can set to display, display & output (print) or not to show them at all per section or elevation.
TIP > In the story settings (COMMAND + 7) you can check or uncheck Stories to be included in these dimensions. Always check this to make sure unwanted Stories do not display in your elevation / sections.
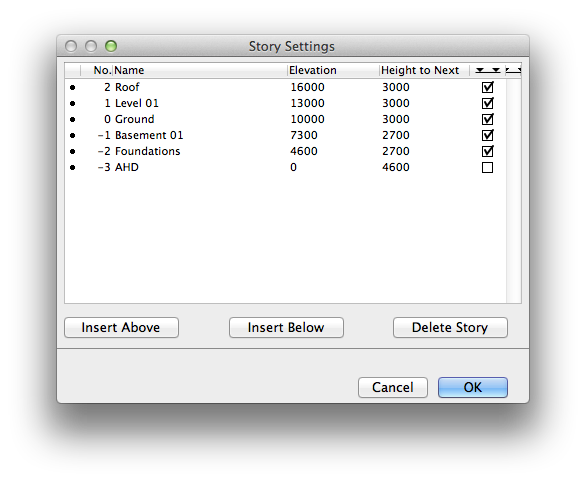
Where to find: COMMAND + 7
Use this to: Set up stories (preferably at the start) of a project.
TIP > When adding stories the “height to next” is calculated by the current default wall height plus the current default slab thickness.
1. Setting this correctly before you add stories saves you adjusting them individually afterwards.
2. Modify levels easier and more intuitively in section or elevation. Design>Edit Story Levels
The easiest way to adjust story levels is not through the Story Settings (COMMAND + 7).
Follow these steps instead:
1. Open any section or elevation. Ensure Story Levels are displayed in the Section or Elevation Settings.
2. Check the section or elevation settings to ensure story levels are displayed.
3. Regenerate if necessary.
4. Right click on a story level line>Edit story levels.
5. Choose (in order of appearance):
(image on right)
Edit Single Story Level
Edit Selected Story Level and all below
Edit Selected Story Level and all above
Edit all Story Levels
6. Click the level to be adjusted (note the tick at the cursor).
7. Type the Z coordinate for the new level.

macinteract Pty. Ltd. | ABN 44 155 154 653 | terms and legal. | © 2026
We use cookies to keep things running smoothly and help us improve—no secrets here!
Please select which cookies we can use. You can change your mind whenever you like!
Websites store cookies to enhance functionality and personalise your experience. You can manage your preferences, but blocking some cookies may impact site performance and services.
Essential cookies enable basic functions and are necessary for the proper function of the website.
These cookies are used for managing login functionality on this website.
Statistics cookies collect information anonymously. This information helps us understand how visitors use our website.
Google Analytics is a powerful tool that tracks and analyzes website traffic for informed marketing decisions.
Service URL: policies.google.com (opens in a new window)