macinteract Pty. Ltd. | ABN 44 155 154 653 | terms and legal. | © 2026
It is worth noting that in our experience markups done digitally directly within a CAD file can not replace the analogue process of printing out your drawing, checking it visually, and marking it up with a pen. A printed set of current drawings is invaluable as the drawing can be seen as a whole and different areas can clearly be seen in relation to each other – besides the printed drawing is what will be used by others onsite.
Although Archicad has an inbuilt markup tool, it is rather tedious and is thus not often used.
Mark-Up Styles.
Where to find:
Options > Element Attributes > Mark-Up Styles…
Use this to:
Set the Mark-Up categories and their associated pens for the Highlighting and Correcting colours.
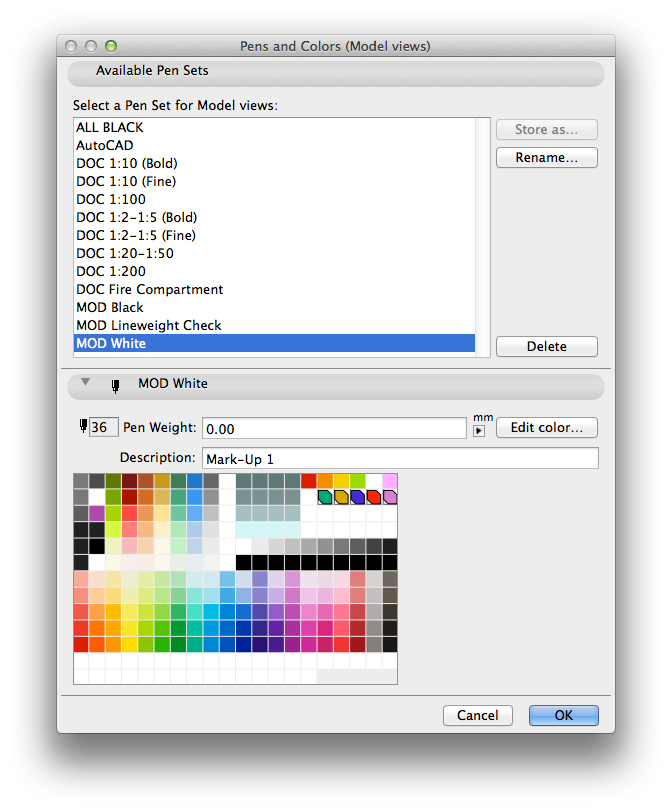
TIP > In your Pen Sets reserve a number of pens for Mark-Ups. These pens should be identical for every Pen Set you have in your file. This way you can change to a black Pen Set for printing purposes and easily identify your Mark-Ups in colour.
Where to find:
Window > Palettes > Mark-Up Tools.
Use this to:
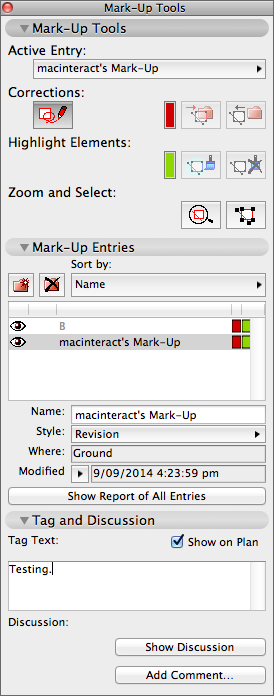
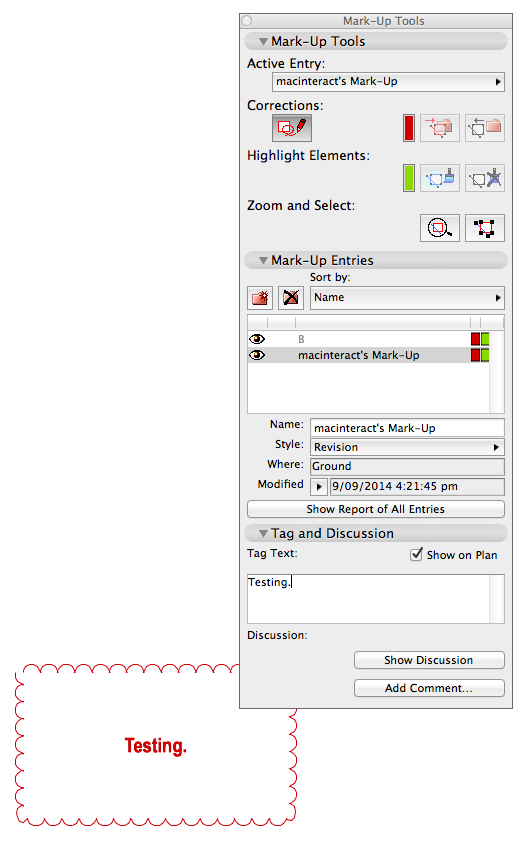
The Mark Up Tools palette has three tabs:
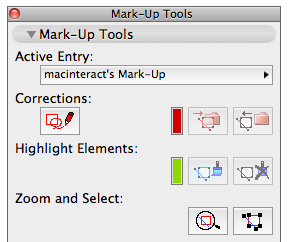
Mark Up Tools.
Select & zoom to elements to be marked up.
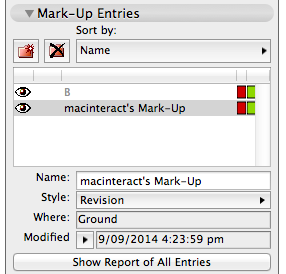
Mark-Up Entries.
Create or select entries to add your mark ups to.
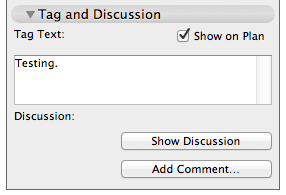
Tag and Discussion.
Add a tag in the 2D view and add your remarks to the discussion.
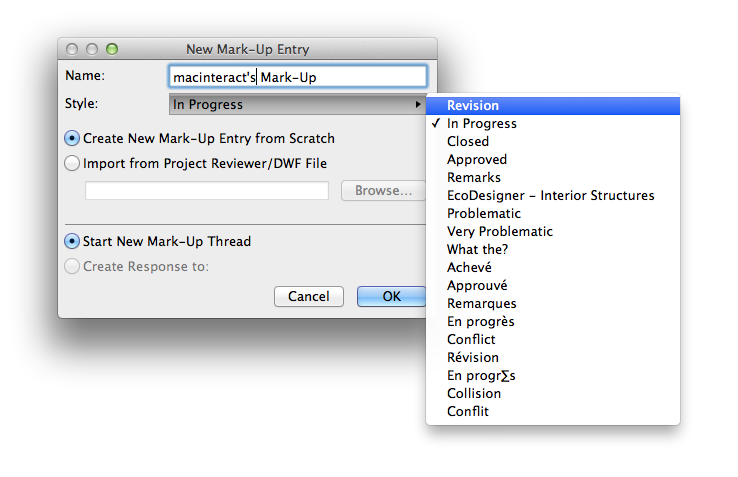
In the Mark Up Tools palette, team members using this tool create a new mark up entry and select a revision style. (These include “Revision”, “Remarks” and “Problematic”)!
It is also possible to respond to a Mark-Up that was entered previously by another team member.
INFO > There is a red “Correction Colour” and a green “Highlight Colour” as set in the Mark-Up Styles with which to identify and correct or comment on areas of the drawing requiring attention. Additionally there is a panel for “Tag and Discussion” where team members can add further comments.
TIP > A simpler as well as more user friendly method is to use a set of pens in your pen sets named “Mark Up” and assign a colour to each team member. Using a “Markup” layer, team members can identify areas of the plan which require further attention by any means such as clouding, circling etc, alongside a short note or comment. This layer can be turned off in layer combinations used for publishing, but periodically turned on and reviewed by senior team members and areas in question resolved accordingly:

macinteract Pty. Ltd. | ABN 44 155 154 653 | terms and legal. | © 2026
We use cookies to keep things running smoothly and help us improve—no secrets here!
Please select which cookies we can use. You can change your mind whenever you like!
Websites store cookies to enhance functionality and personalise your experience. You can manage your preferences, but blocking some cookies may impact site performance and services.
Essential cookies enable basic functions and are necessary for the proper function of the website.
These cookies are used for managing login functionality on this website.
Statistics cookies collect information anonymously. This information helps us understand how visitors use our website.
Google Analytics is a powerful tool that tracks and analyzes website traffic for informed marketing decisions.
Service URL: policies.google.com (opens in a new window)