A
Workspace & Environment
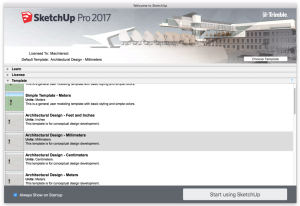
Template
Every SketchUp template contains a set of predefined settings for scene and units of measurement.
By default, the ‘Welcome to SketchUp’ dialog box will pop up when you open SketchUp, where you can select the right template for your design.
We recommend to start with the Architectural Design – Millimeters Template if you intend to use SketchUp for architectural projects.
Getting Started Toolbar
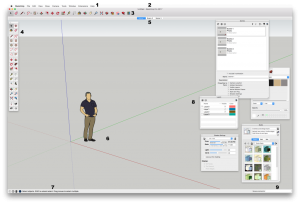
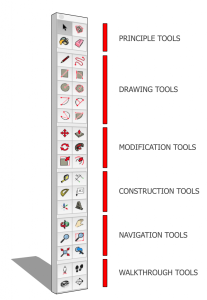
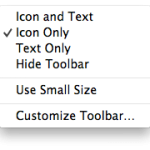
The top of the viewport contains icons for the various tools. Specific Tool names appear if you hover over the tool.
This area can be customised by right-clicking inside the toolbar area and selecting one of the following options:
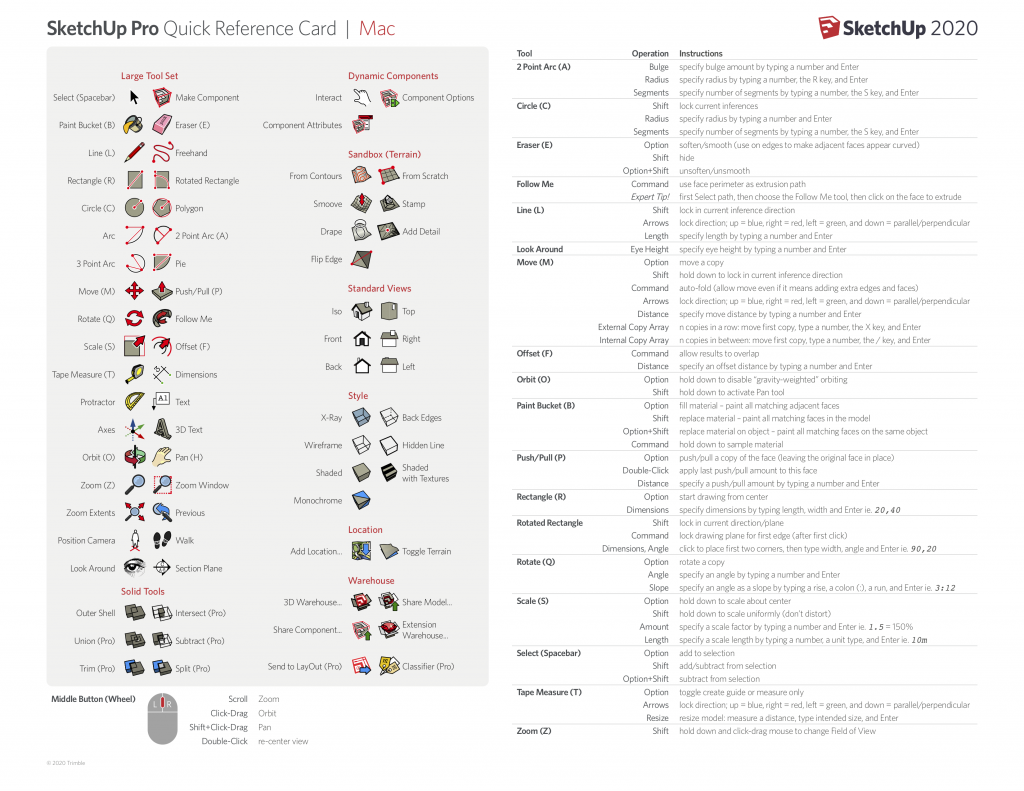
Useful sets to have on the Toolbar are:
1. Selection & Drawing Tools : Select, Eraser, Line, Shape Tools and Arc Tools.
2. Modification Tools: Push/Pull, Follow Me, Move, Rotate, Offset and Scale.
3. Model Display : Xray, Wireframe, Hidden Line, Colored and Textured. And separately from that Shadows On/Off.
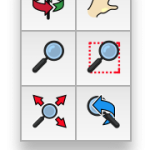
4. Navigation : Orbit, Pan and Zoom.


INFO > To display additional toolbars, select View > Tool Palettes > Large Tool Set.
Drawing Area
In contrast to typical CAD software, in SketchUp you will always be modelling in a three dimensional environment.
The Drawing Area is a space where you create your 3D model. Drawing Axis for x,y, and z direction display to help you navigate and model in 3D space.
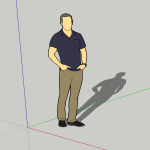
When you start a new file, a 3D model of a person is located in the middle of Drawing Area to give a sense of scale. You can delete this person when starting a new model.
Status Bar
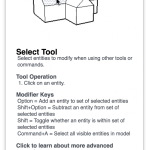
The middle area of the status bar displays a short tip on how to use the selected tool.
If you click on the question mark icon the Instructor window will open. The Instructor window displays useful hints how to use an active tool, thus we recommend to have this window shown when you are beginning with SketchUp.
Measurements Box
In the bottom right of the SketchUp screen you will see an input field for dimensions called Measurements Box. Not only does this field allow input of numerical dimensions (say a length of a line or the opposite corner of a rectangle) but you can also use symbols like times(x) or divide(/) to create copies of elements.
Windows
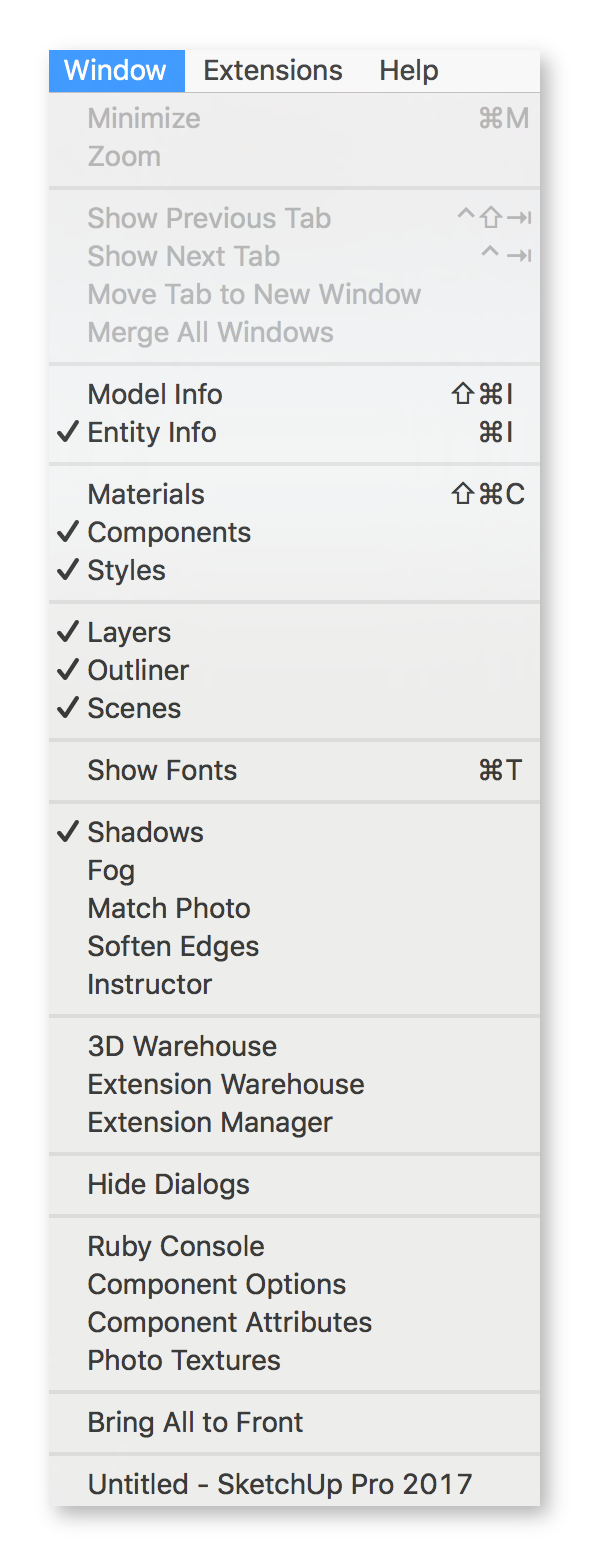
Additional floating windows for settings relating to display of the model, layers and components can be called upon via the Window tab in the Menu Bar on top of your screen.
Useful Windows to have open at all times are :
Entity Info : Allows you to check and modify an item’s material, dimensions and layer.
Tags (Layers) : For classifying objects and controlling visibility.
Styles : To create an overarching display style for your project, and easily switch between available styles.
Scenes : Save scenes to recall saved options.
Shadows : Control sunlight and shadow. Note this menu can also be located in the Toolbar.
Components : Components are instances of an object, for example a tree or a specific door. Instead of drawing each one separately you create and place a component. The Component window lets you browse the online or local library for prepared components. In other software packages (e.g. ArchiCAD, Vectorworks, Autocad) these are typically referred to as Blocks, Objects or Symbols.
Outliner : Shows you the file structure in regards to groups and components.
Note that you can:
– maximize / minimize these windows by clicking their title bar,
– dock them to each other and / or the side of the screen.
TIP > Model Info : Control default settings of a model. In here you can, among other things, change the template, set working units, geo-locate your model, fix problems of your model or reduce file size of SKUP file.
(Model Info>Statistic>Purge Unused will remove all unused components, styles and materials and make your SKUP file light.)
TIP > To customise shortcuts, select SketchUp > Preferences > Shortcuts.
Navigation
The mouse will be your main instrument to navigate the model. Besides this you can save viewpoints / scenes to quickly go to a certain perspective, use Orbit, Zoom and Pan tools or use the Walkthrough Tools – Walk or Look Around in combination with arrows on your keyboard.
Also you can place Standard Views in the Toolbar which will give you quick access to preset parallel views (plan, elevation). The usefulness of these is limited though, since SketchUp’s emphasis is on 3D.
Navigating with the mouse is done through using the scroll wheel to Zoom in and out, the middle button to Orbit and Shift + middle button to Pan.
INFO > Zoom In if there are many points or edges close together to make sure you are snapping to the correct one. Note that zooming does not interrupt the editing operation.
If you Zoom In/Out using the scroll wheel of your mouse, try to point a cursor on an entity in your model. The entity will become the Zoom centre point.
Quick Intro to Navigation in SketchUp
3 minutes
video by @SketchUp
macinteract Pty. Ltd. | ABN 44 155 154 653 | terms and legal. | © 2026
